Monday, July 22, 2013

Frozen Raspberry Cream Custard

Ice cream is one of my favorite things in the world. Seriously, I have a weakness for ice cream. But frozen custard ... ah, now that's truly where the magic resides. The main difference between ice cream and frozen custard is that the latter contains egg yolks and must be cooked thoroughly before freezing. It's a little bit more work, but, oh, so worth it! This is one recipe that I am going to keep forever.

Frozen Raspberry Cream Custard
8 egg yolks
1 & 1/2 c. sugar
good pinch of salt
3 c. heavy whipping cream
1 & 1/2 c. milk (I used 2%)
1 t. vanilla
2 c. fresh or frozen raspberries
 
In a large mixing bowl, combine egg yolks, sugar and salt.
 In a saucepan, heat cream and milk over medium-high heat for about 10 minutes. Stir constantly.
 Slowly pour hot cream over egg yolk mixture, whisking as you go.

 Return mixture to saucepan and heat over medium-high heat until it reaches 170 degrees. Again, stir constantly.
 Remove from heat and stir in vanilla.
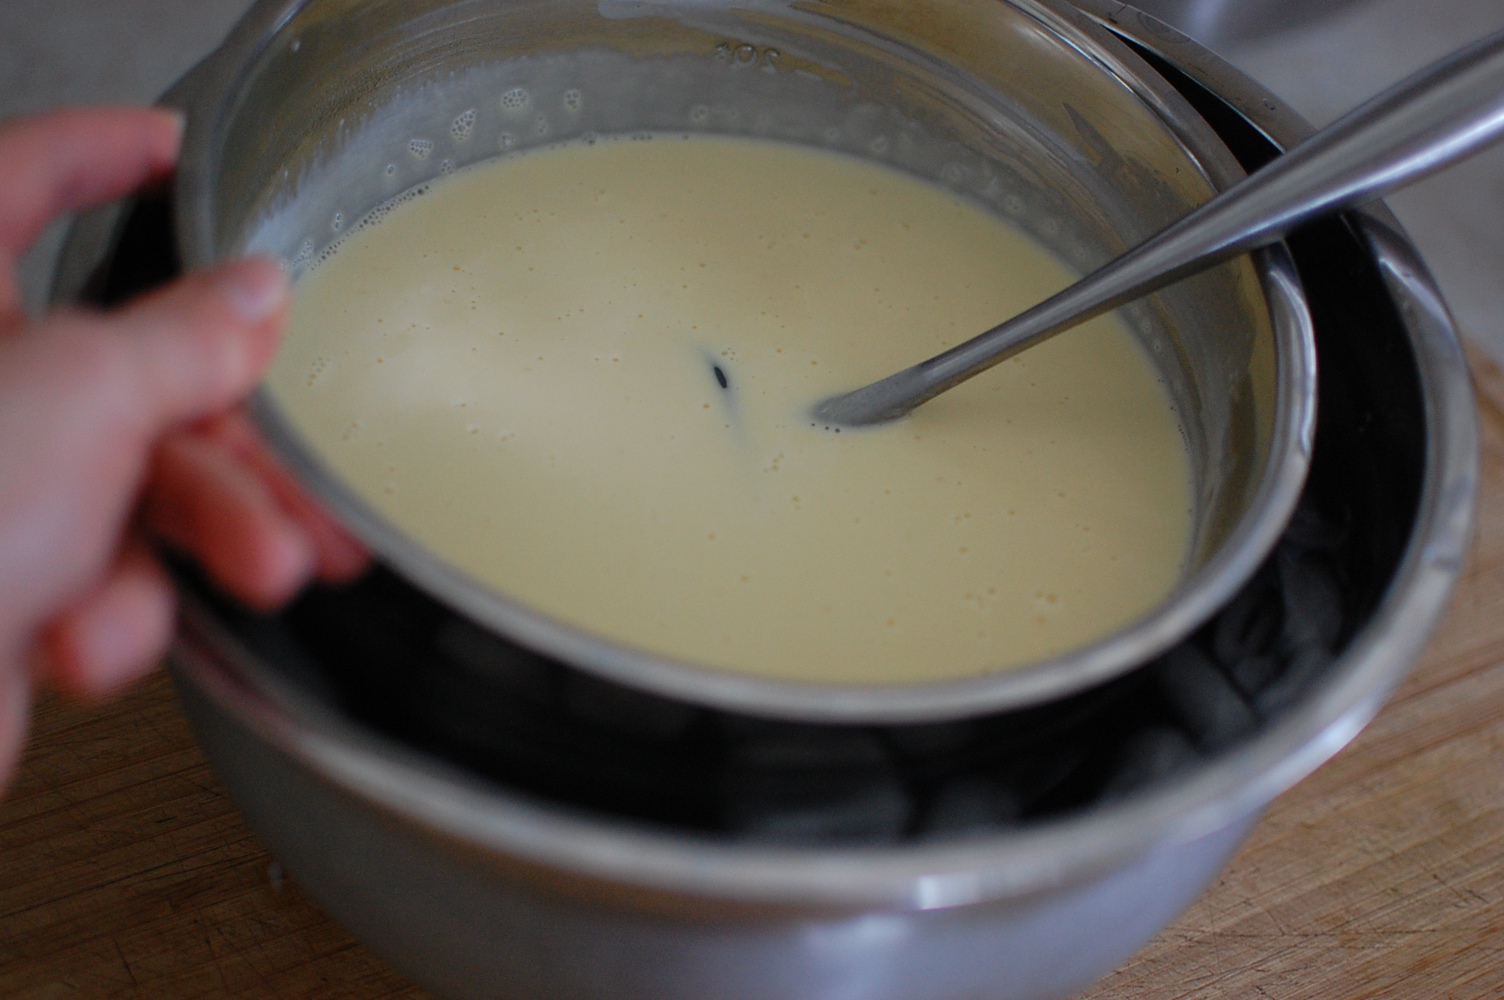
 Pour mixture into a clean bowl (metal or glass works best) and place the whole bowl in and ice bath. Stir until cool. {This step isn't absolutely necessary, but it does significantly speed up the cooling process.} After the ice bath, cover with plastic wrap and place in the fridge for 1-2 hours. {If you don't do an ice bath, refrigerate overnight.}
 Pour custard into an ice cream maker and freeze according to manufacturer's instructions. After custard is frozen, stir in raspberries by hand.
 Then serve it up.
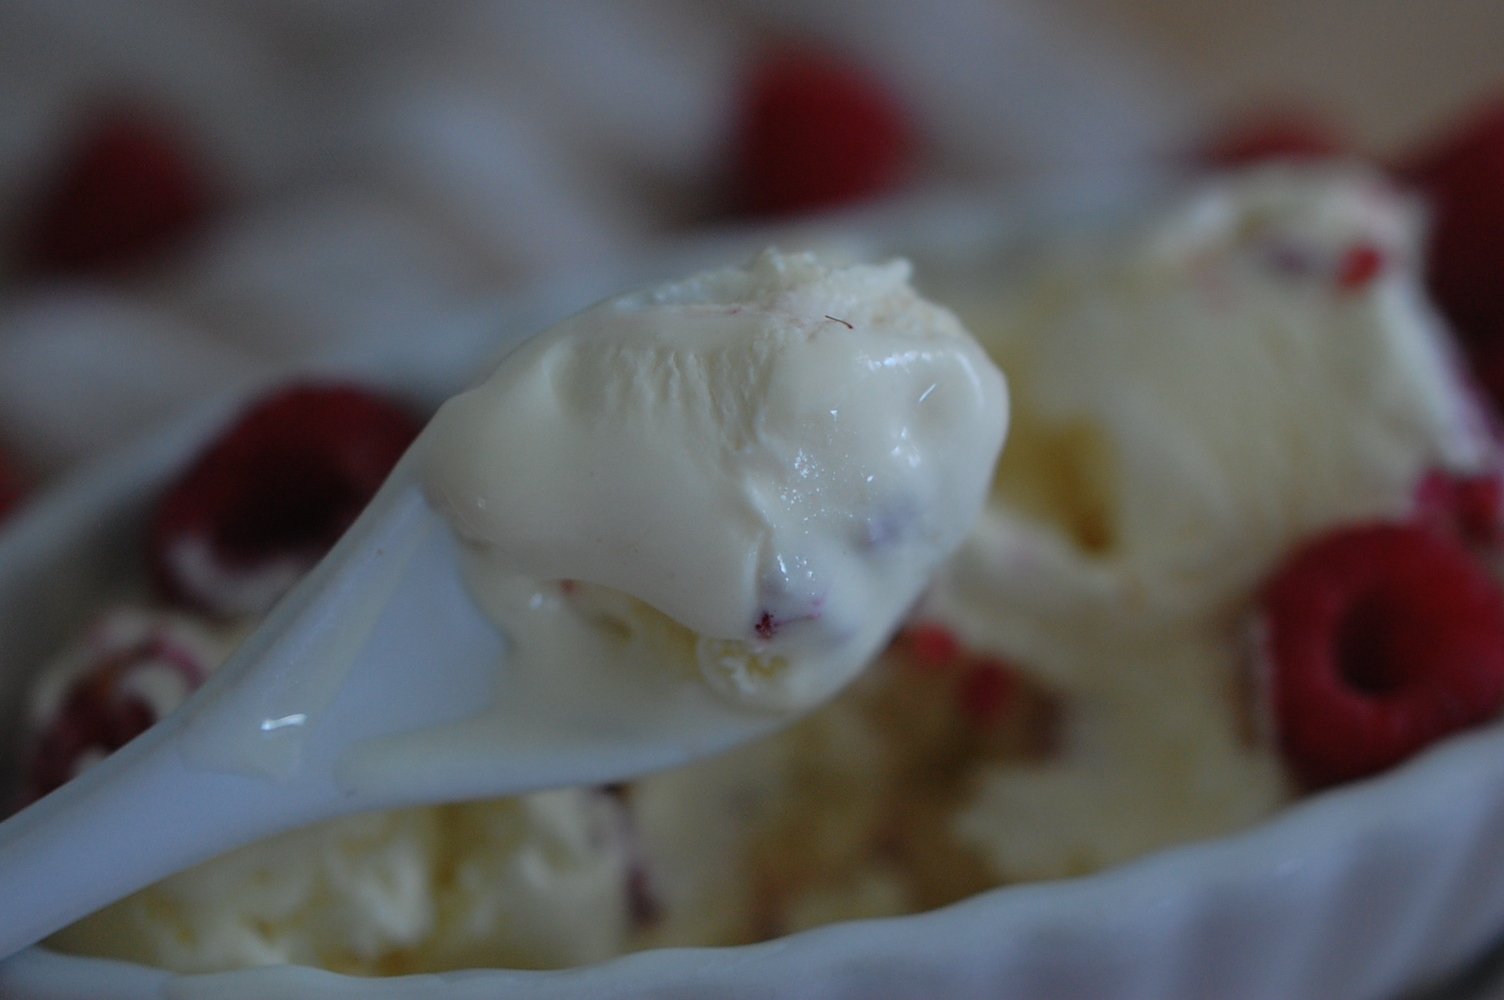
 Pictures cannot capture how perfectly smooth this turns out. No ice crystals at all!

Now go make some ... now ... right now. Enjoy!

Tuesday, July 16, 2013

Loaded Pumpkin Cookies

Well, a few days ago I got my annual mid-summer pumpkin cookie craving. Seriously, every summer I want pumpkin cookies, without fail. I'm not complaining, in fact, I find it somewhat humorous. This time I decided to make a more ... exciting version of the original.

Loaded Pumpkin Cookies
1 c. (2 sticks) butter, softened
2 & 1/2 c. sugar
2 c. pumpkin
2 eggs
2 t. vanilla
4 & 1/2 c. whole white wheat flour
1 & 1/2 c. old fashioned oats
2 t. baking powder
2 t. baking soda
2 t. cinnamon
2 t. nutmeg
1 t. salt
1 (11 oz.) bag mini chocolate chips
1 c. cinnamon chips
1/2 c. butterscotch chips

Preheat oven to 350 F. In a large bowl, cream butter and sugar. Add pumpkin, eggs, and vanilla and mix until fluffy. Add flour, oats, baking powder, soda, cinnamon, nutmeg and salt. Mix well until it forms a dough. Fold in chips.
Drop spoonfuls of dough onto a greased (or parchment lined) cookie sheet.
 Bake at 350 F for 12-14 minutes.
Perfectly soft with a hearty, chewy texture and packed with chips. Just grand! 

 Enjoy!

Thursday, June 6, 2013

Chocolate Fudge Microwave Brownie

I keep seeing recipes for single-serve microwave desserts. They're everywhere! For the longest time I didn't get it. I thought, 'Why not just make a whole batch of something?' Well, I tried it...and I TOTALLY get it now! I can see myself making a hot brownie or cake every night. And with this recipe, I don't feel super guilty because it's pretty nutritious.
 

Chocolate Fudge Microwave Brownie - adapted from Lexie's Kitchen
makes 2 servings (vegan & gluten free)

1/4 c. oat flour
1/4 c. sugar (or dry sweetener of choice)
3 T. cocoa powder
2 T. coconut flour
1/4 t. baking powder
1/8 t. salt
2/3 c. soy milk (any other milk would probably work too)
2 T. coconut oil
2t. vanilla
1/4 t. liquid stevia extract

Combine dry ingredients in a mixing bowl.

Combine milk and coconut oil in a microwave safe cup. Microwave for 30-60 seconds or until oil is melted. (I used the same spoon to measure the cocoa and coconut oil, hence the brown looking milk mixture...)
 Add milk mixture to dry ingredients along with vanilla and stevia. Mix well. (Batter will be thin.)
 Pour batter into 2 mugs or heavy duty glass cups.
 Microwave for 3 minutes + 30 seconds.
 Let brownies cool for 5-10 minutes before digging in! Trust me, they will stay plenty hot for quite a while. Personally, I don't enjoy burning off my taste buds.
 Now you can dig in!
 These are seriously fudgy! Top it off with some ice cream or whipped cream = no words!
Enjoy!

Monday, June 3, 2013

Peach Berry Crumble

A few years ago my husband was a part of a volunteer group and they would take turns bringing dinner for everyone. He told me that one of the members was a vegan so I took the opportunity to make an entirely vegan dinner that everyone would love. For dessert I made this fruit crumble that my whole family absolutely fell in love with! In fact, we love it so much that we will eat it for dessert, breakfast, and sometimes at snack time. Plus, it comes together very quickly. Healthy, fast and amazingly delicious?!?! I couldn't ask for more.


Peach Berry Crumble (vegan & gluten-free)
 
6-7 c. sliced peaches, pitted and skinned (I used frozen sliced peaches)*
2 c. berries (I used frozen mixed berries)*
1/4 c. brown sugar (or more, depending on the sweetness of the fruit)
2 T. corn starch
1 t. cinnamon
1 & 1/2 c. oat bran
1/2 c. oats
1/2 c. brown sugar
1/2 t. salt
1 c. unsalted almond butter
1 & 1/2 t. almond extract

*If using frozen, thaw before preparing this dessert.

In a large bowl, combine fruit, 1/4 c. brown sugar, cornstarch, and cinnamon. Mix well.
 Pour fruit mixture into a 9x13" pan.
 In another bowl, combine oat bran, oats, brown sugar, and salt. Cut in almond butter until crumbly. Add almond extract and continue mixing until the mixture is uniformly moist and crumbly.
 Sprinkle crumb topping over fruit.
 Bake at 425 F for about 20-25 minutes.
 Serve warm.
 I didn't have any vanilla ice cream, but that would have been perfect!
Enjoy!

Thursday, May 9, 2013

Cherry Chocolate Macaroons

I've been wanting to make these cookies for a while now. So yesterday we made a batch and took some to my daughter's elementary school teacher for teacher appreciation week. I've gotta be honest, there is nothing quite like these cookies! They're a class all their own. Just imagine soft, chewy, almost cakey cookies with coconut, cherries, and chocolate. I just can't even describe the deliciousness...

Cherry Chocolate Macaroons
1 c. (2 sticks) butter, softened
1 & 1/4 c. sugar
1/2 t. salt
1 & 1/2 t. almond extract
2 eggs
2 t. baking powder
2 t. baking soda
3 & 1/2 c. flour
1 & 1/2 c. sweetened shredded coconut
1 (10 oz.) jar maraschino cherries, halved (reserve 2-3 t. liquid)
1 c. chocolate chips

In a large mixing bowl, cream butter and sugar for about 4 minutes. Add salt, extract, and eggs.
 Cream again until light and fluffy.
 Add baking powder, baking soda, flour, and coconut. Mix until dough is crumbly.
 Add cherries, cherry liquid, and chocolate chips. Mix by hand until dough comes together.
 Scoop dough onto a parchment-lined cookie sheet.
 Bake for about 9 minutes.
 

These cookies are such a unique, tasty treat. The combination of flavors and textures is just divine. Enjoy!

Saturday, May 4, 2013

Homemade Chocolate Peanut Butter

Yesterday, the kiddos and I went for a stroll and hit some stores along the way. I stocked up on some chocolate bars ... I went a little crazy. I should really learn to not go food shopping when I'm hungry. Anyway, today I discovered a great way to use those chocolate bars. My two favorite loves combined into one amazing spread.


Homemade Chocolate Peanut Butter

1 (3.5 oz.) bar dark chocolate, broken in pieces (or 1/3 c. dark chocolate chips)
1 t. coconut oil
2 c. roasted salted peanuts
2 T. brown sugar
1/2 t. vanilla

I used dark chocolate, but I suppose you could experiment with milk if you like.
 Combine chocolate and coconut oil in a microwave safe bowl.
 Microwave in 30 second intervals until melty and smooth. Set aside while preparing the peanuts.
 Put peanuts in a food processor.
 Process for about 4-5 minutes or until smooth.
 To the peanut butter, add chocolate mixture, brown sugar and vanilla.
 Process for another 2 minutes.
 Pour into a jar and refrigerate.
 It firms up very nicely after it's been in the fridge for a few hours.
 Honestly, I haven't even put this on anything yet because I just keep eating it with a spoon...
Enjoy!